A practical walkthrough of MSE wall construction — foundation, levelling pad, panel erection, backfill, reinforcement and quality control — with the mistakes to avoid on site.
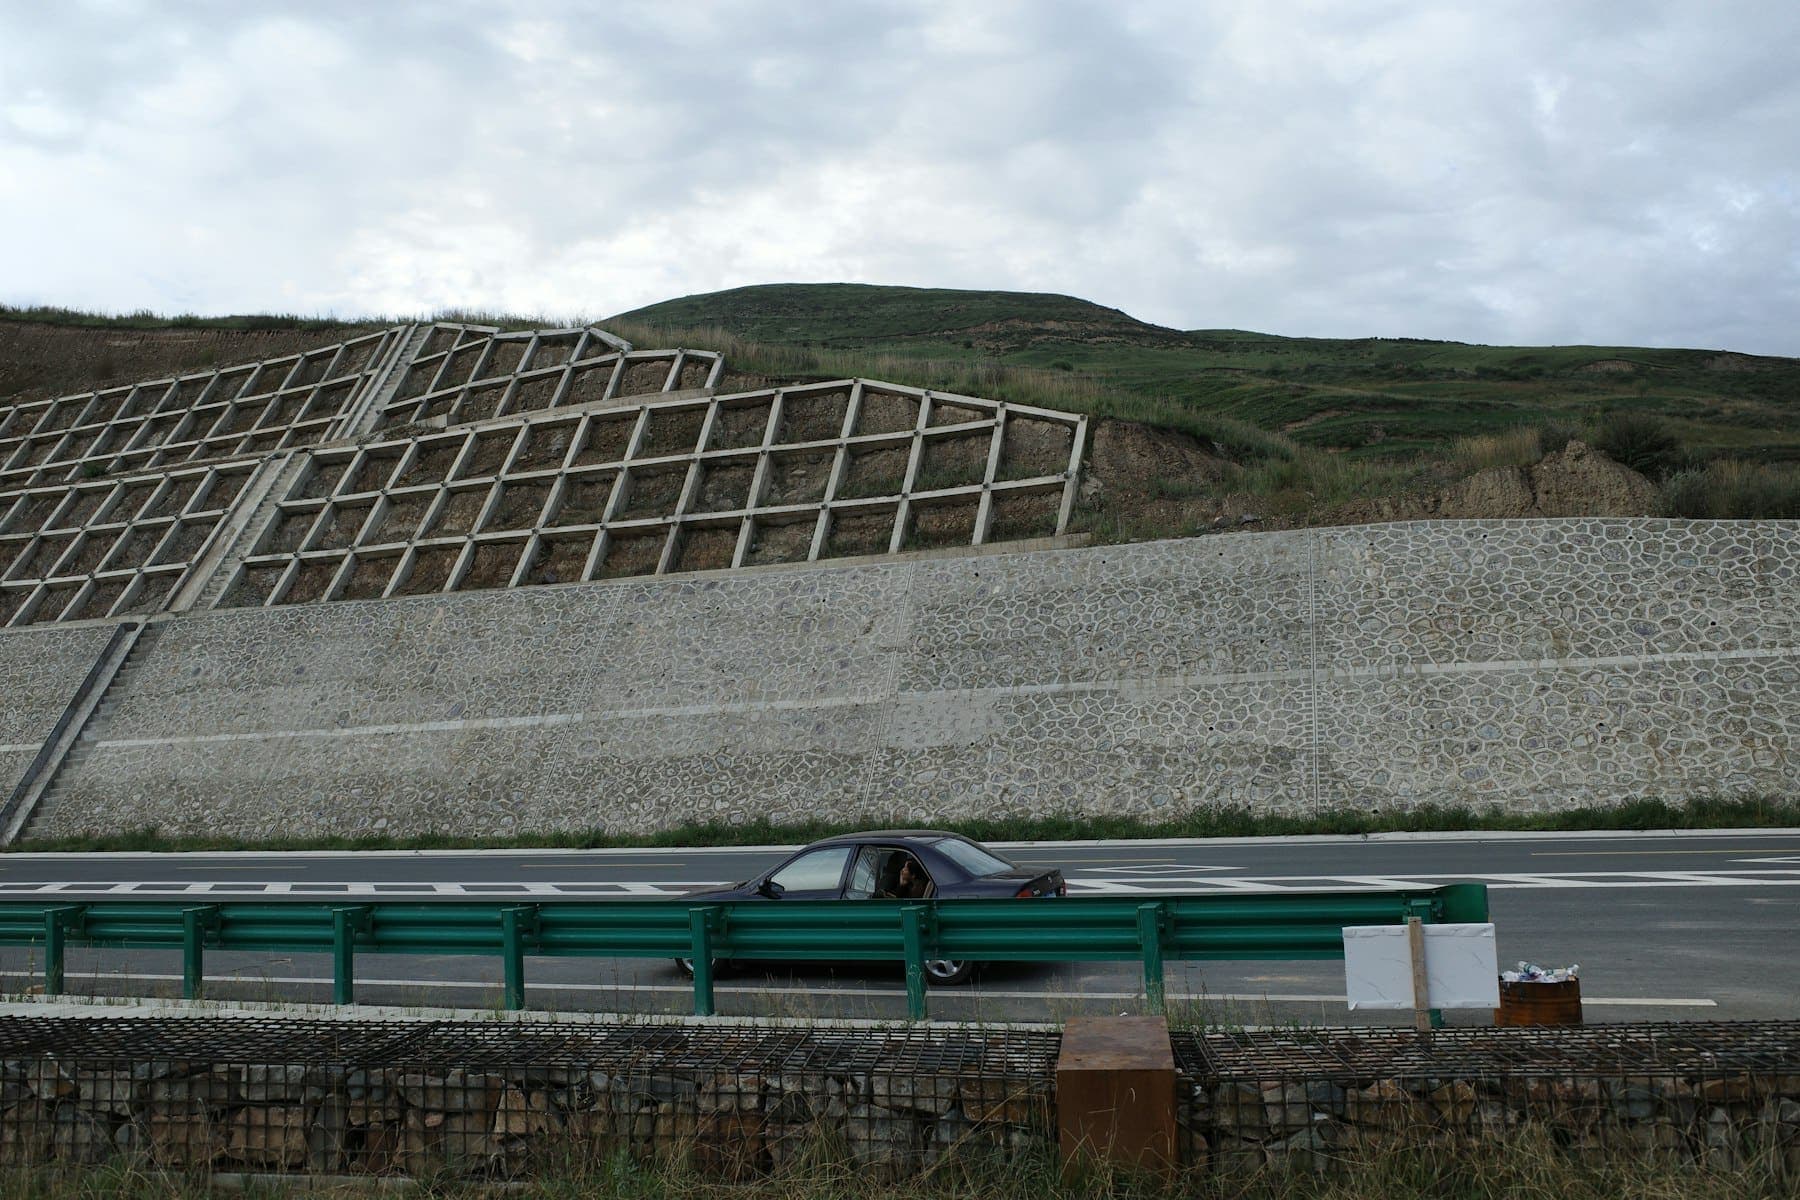
Reinforced earth (MSE) walls look simple from the outside: a neat grid of concrete panels with an embankment behind. The engineering, though, is inside — in how the fill is placed, how the reinforcement is laid and how carefully the wall is kept in line while it rises. Most field problems trace back to execution, not design. Here is how a well-run job proceeds.
1. Foundation preparation
The wall founds on a shallow levelling pad, but the ground below still has to carry the weight of the whole reinforced block. Excavate to the founding level shown on the drawings, remove soft, organic or loose material, and proof-roll the exposed base. Any soft spots found are dug out and replaced with compacted granular fill. A concrete levelling pad is then cast to exact line and level — the straightness of every panel above depends on it.
2. Erecting the first tier of panels
The first row of precast panels sets the alignment for the whole wall, so it deserves the most care. Panels are set on the pad using bearing pads and spacers to keep the joint width uniform, held plumb with temporary bracing, and checked with a total station or string line. Joint filler and a geotextile strip behind the joints stop fines from washing through the face later.
3. Backfill and compaction
Backfill is the structural material of the wall, and it has to meet the specification for gradation, fines content and chemistry. It is placed in thin, even lifts and compacted to the specified density at controlled moisture.
- Spread fill from the back of the reinforced zone towards the facing, never the other way, so panels are not pushed out.
- Use light, hand-operated compaction plant within about 1 m of the facing — heavy rollers there can displace panels.
- Test density at the specified frequency, and re-compact any lift that fails before placing reinforcement over it.
- Keep lifts crowned or sloped slightly away from the face so rainfall does not pond against the panels.
4. Placing the reinforcement
At each reinforcement level, strips or geogrids are laid at the design length perpendicular to the wall face, connected to the panel connectors and pulled taut without slack. Reinforcement must lie on compacted fill and be covered with fill by end-tipping — tracked or heavy plant must never run directly on it.
5. Building up and finishing
Panels, fill and reinforcement are built up in sequence, with alignment and verticality checked at every tier. Drainage behind the wall and surface drains above it keep water out of the reinforced zone. At the top, the coping beam, crash barrier and pavement layers complete the structure.
Common mistakes to avoid
- Using fine-grained or plastic soil as backfill to save cost — it loses strength when wet and increases wall pressure.
- Skipping or rushing the levelling pad, which causes cumulative misalignment.
- Compacting too close to the facing with heavy rollers.
- Allowing water to flow behind the wall because drains were left until the end.
- Leaving reinforcement short of the design length because of obstructions — these must be resolved with the designer, not on site.
Careful execution, tested at every lift, is what turns a good design into a wall that performs for decades.
Related service
Reinforced Earth Wall Execution
Precast-faced MSE walls and reinforced soil slopes for bridge approaches, flyovers, highways and industrial platforms.